
Table of Contents
- Understanding Your Privacy Film and Curing Timeline
- What to Clean Tinted Windows With: Approved Products
- Tools for Cleaning Privacy Film Safely
- Step-by-Step Cleaning Procedure for Clean Residential Privacy Film
- Residential Window Film Care Instructions and Maintenance Schedule
- How Often to Clean Window Film
- Common Cleaning Mistakes to Avoid
- Frequently Asked Questions
Last Updated: October 20, 2026
Understanding Your Privacy Film and Curing Timeline
Residential privacy film is not a single product. Care that keeps a frosted static-cling panel looking new can dull a reflective exterior film or lift the edge of a freshly installed adhesive film. Before you pick up a spray bottle, identify what is on your glass and how long it has been there.
Post-Installation Curing Period
Adhesive-backed window film bonds through a water-activated adhesive. Installers flood the glass with a slip solution, position the film, then squeegee most of it out.
Do not clean during curing. Water or cleaner forced under a partially bonded edge can create permanent bubbles, clouding, or lifting.
Follow your installer’s or manufacturer’s written cure time rather than a generic rule; it varies by film construction, glass orientation, indoor humidity, and season. Keep the installation paperwork.
Ask your installer for written care instructions specific to your film type and mounting location. Note the installation date on the paperwork so you know exactly when the cure window ends.
Film Type and Surface Compatibility
Privacy film care depends on three variables: material, surface finish, and indoor or outdoor mounting.
By material:
- Dyed films use a colored layer for privacy and glare reduction. They are the most common residential choice and the most sensitive to harsh solvents, which can fade or blotch the dye. Mild soap and water is the safe default.
- Metalized films contain microscopic metallic particles for heat rejection and reflectivity. They are durable but streak with too much cleaner, and abrasive pads scratch the coating.
- Ceramic films use nano-ceramic particles and are the most scratch- and fade-resistant option, but still should not see ammonia, acetone, or abrasives.
- Frosted and textured privacy films have a raised or matte surface that traps dust and shows smudges. They need gentler wiping and more frequent light cleaning; scrubbing can burnish the texture.
- Static-cling films have no adhesive and can be removed and repositioned. They tolerate mild cleaners but trap water between film and glass if you spray directly onto the surface.
By finish:
- Reflective and mirror finishes show streaks and fingerprints more than any other surface. Use a microfiber cloth and dry-buff after cleaning.
- Matte and frosted finishes hide fingerprints but hold dust. Dust lightly before wet cleaning so you are not dragging grit across the texture.
- Textured and patterned finishes have recesses that collect residue. A soft brush helps dislodge dust; never use a stiff-bristled brush.
By mounting:
- Interior films face indoor dust, cooking grease, and fingerprints. Standard ammonia-free cleaning applies.
- Exterior films face rain, pollen, road spray, and UV. They are built for harsher conditions but still require ammonia-free cleaners and soft tools, and should be rinsed rather than scrubbed when grit is present.
Confirm your film type and mounting from the installation documentation before choosing a method. Aggressive cleaning that is safe on one film can permanently damage another.
Never assume a cleaner that is safe for one window in your home is safe for all of them. If you have mixed film types, clean the most delicate film first and test any new product on an inconspicuous corner.
What to Clean Tinted Windows With: Approved Products
The right cleaner protects your residential privacy film; the wrong one damages the surface or leaves streaks.
Ammonia-Free Cleaners
Ammonia is the enemy of window film. It breaks down the adhesive and causes peeling. Never use Windex or similar ammonia-based products on privacy film.
Ammonia-free window cleaners are your safest bet. Look for products labeled “ammonia-free” or “film-safe,” confirm ammonia is not included, and test any new cleaner on a small, inconspicuous area first.
Safe Household Cleaning Solutions
You don’t need expensive specialty products. A few drops of mild dish soap in warm water in a spray bottle cleans residential privacy film without harming it. A 1:1 white vinegar and water mix also cuts dirt and fingerprints safely. Avoid hot water, which can make the film expand and bubble; stick with lukewarm or room-temperature water.
Products and Chemicals to Avoid
Several common household products damage privacy film permanently. Never use these on your film:
- Acetone or nail polish remover (dissolves adhesive)
- Rubbing alcohol in high concentrations (can damage the coating)
- Harsh abrasive cleaners or scouring powders
- Bleach or ammonia-based products
- Petroleum-based solvents or degreasers
- Glass scrapers or razor blades on the film surface
These either dissolve the adhesive, damage the protective coating, or scratch the film, damage that cannot be repaired without professional removal and reinstallation.
Never apply adhesive remover or acetone to clean your privacy film. These products permanently damage the film and may require professional removal and reinstallation.
Tools for Cleaning Privacy Film Safely
The tools matter as much as the cleaner. Soft, gentle tools protect your film from scratches and damage.
Soft Cloths and Non-Abrasive Materials
Microfiber cloths are the gold standard for cleaning residential privacy film: soft, lint-free, and they trap dirt instead of dragging it across the surface. Cotton cloths and soft paper towels also work; avoid rough or textured cloths that can leave scratches. Never use steel wool, abrasive pads, or scouring cloths, they scratch the protective coating permanently. Squeegees with soft rubber blades remove water without scratching; use gentle pressure to avoid streaks or bubbles.
Equipment to Avoid
Certain tools cause irreversible damage. Keep these away from your windows:
- Steel wool or abrasive scrubbing pads
- Hard plastic scrapers or razor blades
- Wire brushes
- Rough sponges or textured cloths
- High-pressure washers or power sprayers
- Stiff-bristled brushes
These scratch, gouge, or peel the film surface, and the damage cannot be fixed without professional removal and replacement.
Step-by-Step Cleaning Procedure for Clean Residential Privacy Film
Follow this process to clean your privacy film safely and effectively.
What You’ll Need:
- Soft microfiber cloth or cotton cloth
- Spray bottle
- Ammonia-free cleaner or soap-and-water solution
- Squeegee with soft rubber blade (optional)
- Clean towel for drying
Steps to Clean Residential Privacy Film:
-
Prepare your cleaning solution. Mix a few drops of mild dish soap with warm water in your spray bottle. Alternatively, use a commercial ammonia-free window cleaner.
-
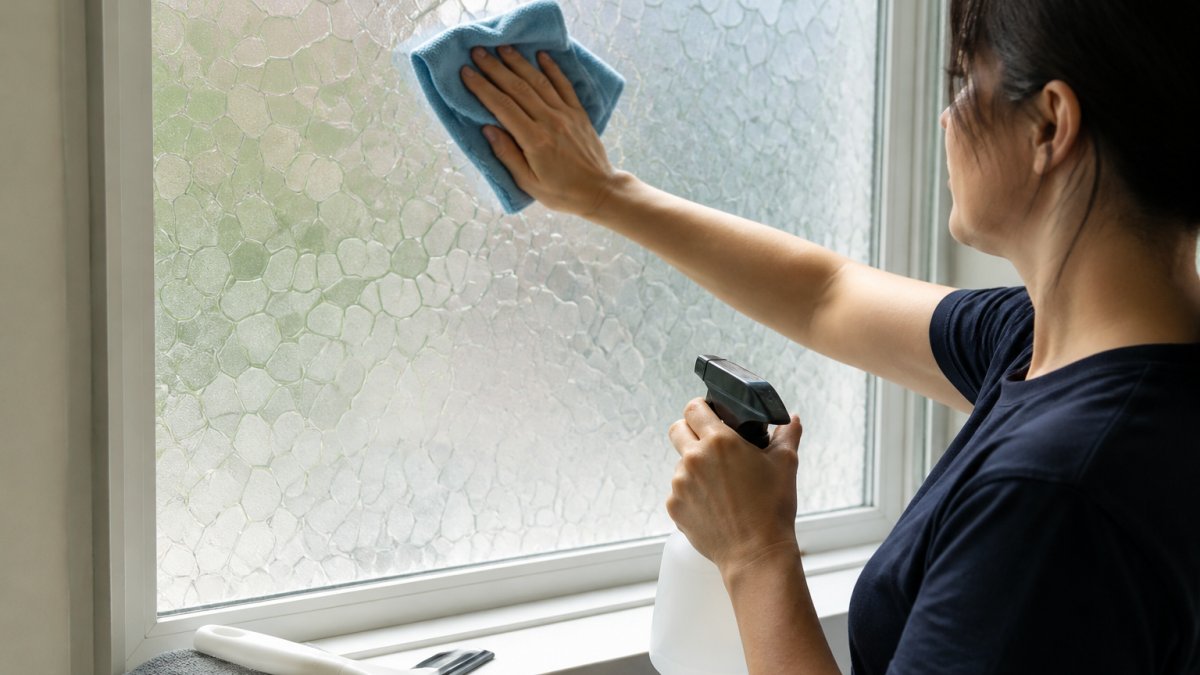
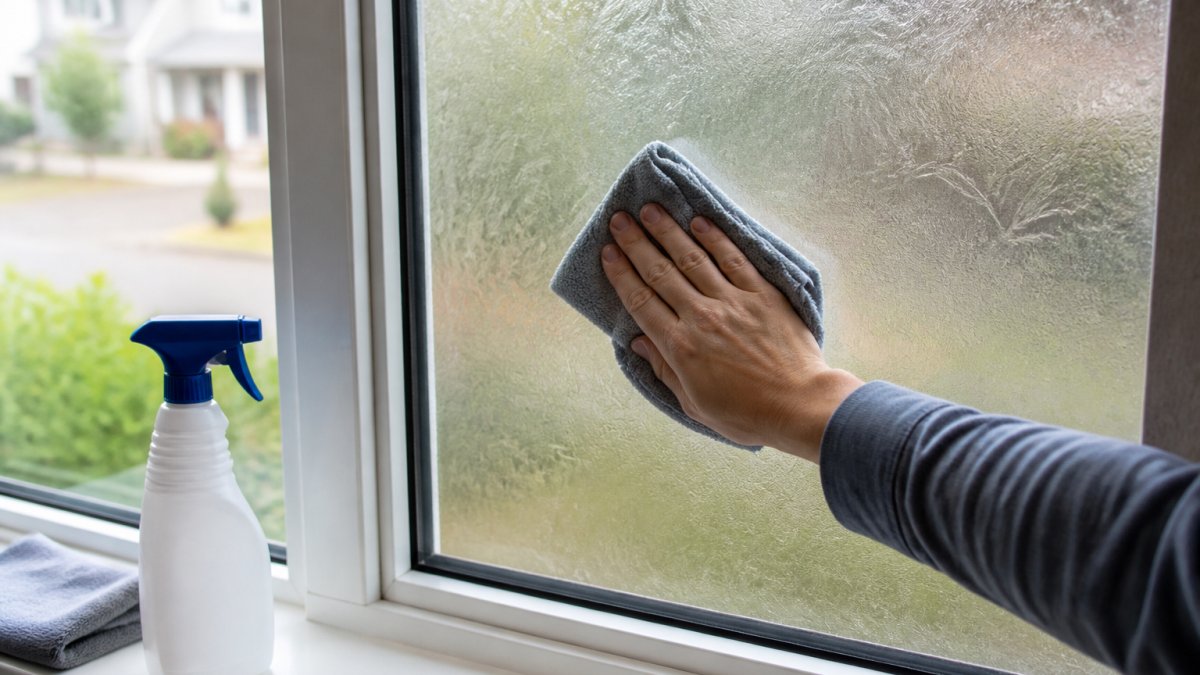
Spray the solution onto the cloth. Apply the cleaner to your cloth first, not directly onto the film. This prevents excess liquid from seeping under the film edges.
-
Wipe the film gently. Use light pressure and circular motions. Work from top to bottom to allow gravity to help with water drainage.
-
Remove stubborn spots. For dried residue or fingerprints, let the cleaning solution sit for a minute before wiping. Do not scrub aggressively.
-
Dry the window. Use a clean, dry microfiber cloth to remove excess moisture. This prevents water spots and streaking.
-
Check for remaining moisture. Look for water droplets along the edges. Gently wipe these away to prevent moisture from seeping under the film.
The entire process takes 10-15 minutes per window. Take your time and use gentle pressure throughout.
The key to keeping your privacy film clean is using soft cloths, ammonia-free cleaners, and gentle pressure. Aggressive scrubbing or harsh chemicals cause permanent damage.
Residential Window Film Care Instructions and Maintenance Schedule
Regular maintenance keeps your privacy film looking new and functioning properly. A simple routine prevents dirt buildup and extends the film’s lifespan.
Regular Maintenance Routine
Clean your residential privacy film every 2-4 weeks under normal conditions. High-traffic areas or homes near the coast may need cleaning every 1-2 weeks due to dust and salt spray.
Inspect your film monthly for signs of damage. Look for peeling edges, bubbles, or scratches. Early detection allows you to address problems before they worsen.
Wipe down your film whenever you notice dust, fingerprints, or water spots. Quick spot-cleaning prevents dirt from accumulating and becoming harder to remove.
Seasonal Considerations
Different seasons bring different challenges to your privacy film. Adjust your maintenance routine accordingly.
Spring: Pollen and dust increase. Clean more frequently during high pollen seasons.
Summer: Heat and UV exposure intensify. This is when privacy film performs its best job.
Fall: Leaves and debris accumulate near windows. Clean gutters and window frames to prevent debris from sitting against the film.
Winter: Cold temperatures slow the curing process if you have new film.
How Often to Clean Window Film
The frequency of cleaning your residential privacy film depends on several factors.
Windows facing busy roads accumulate dirt faster than those facing quiet yards.
Most homeowners find that cleaning every 2-4 weeks maintains a clear, clean appearance.
Don’t wait until your film looks dirty to clean it. Regular maintenance prevents dirt from becoming stubborn and hard to remove.
Coastal Glass Tinting recommends establishing a routine that fits your home’s location and your schedule. Consistency matters more than frequency.
Common Cleaning Mistakes to Avoid
Most privacy film damage is preventable, and most of it comes from a handful of habits.
Mistake 1: Using ammonia-based cleaners. Ammonia attacks the adhesive and can cloud or peel film over time.
Mistake 3: Spraying cleaner directly onto the film. Excess liquid runs to the edges and wicks underneath.
Mistake 5: Using abrasive tools. Steel wool, razor blades, scouring pads, and stiff brushes gouge the film permanently.
Troubleshooting Film Damage Versus Removable Residue
When something looks wrong on your film, resist the urge to scrub harder. Work through this diagnostic sequence instead.
Step 1: Rule out curing. If the film was installed within the last several weeks, haze, small bubbles, and faint water pockets are likely curing effects.
Step 2: Test for removable residue. Haze, spots, streaks, and fingerprints that sit on the surface usually lift with a microfiber cloth and mild soap-and-water solution.
Step 3: Identify permanent damage. Damage that survives gentle cleaning is structural. Look for:
- Scratches that catch light as visible lines, often from abrasive pads or grit dragged across the surface.
- Gouges that appear as indented or rough areas, usually from scrapers or blades.
- Discoloration that is blotchy or faded, often from harsh solvents or ammonia exposure.
- Bubbles or lifting edges that persist past the cure window, which point to adhesive failure or moisture intrusion.
- Clouding or haziness that does not clear, which can indicate adhesive breakdown.
Step 4: Decide on a fix. Removable residue needs only better cleaning technique.
The rule of thumb: if gentle cleaning does not remove it, stop cleaning and start diagnosing. Scrubbing a permanent defect only makes it worse.
Our team can assess any damage and recommend the best solution for your specific situation.
Frequently Asked Questions
When is it safe to clean newly installed residential privacy film?
Wait at least 3 to 5 days after installation before cleaning your privacy film. The adhesive needs time to fully cure and bond to the glass. During this curing period, avoid spraying water or cleaners directly on the film. After the curing window closes, you can safely begin gentle cleaning with ammonia-free solutions and soft cloths.
What should you use to clean residential privacy film?
Use ammonia-free window cleaners or a simple soap solution made with a few drops of dish soap and distilled water. Apply the cleaner to a soft microfiber cloth first, then wipe the film gently. Never spray cleaner directly onto the film surface, as excess liquid can seep under the edges and damage the adhesive. Avoid isopropyl alcohol, acetone, and abrasive pads.
How often should you clean residential window film?
Clean your privacy film every 1 to 2 weeks under normal conditions, or more frequently if you live in a dusty or coastal environment where salt spray and dirt accumulate faster. Light dusting with a dry microfiber cloth between full cleanings helps prevent buildup. Inspect the film edges monthly for peeling or bubbles, and address any issues early to prevent water infiltration.
Can you use Windex or vinegar on privacy window film?
Traditional Windex contains ammonia, which can damage privacy film adhesive and cause haze or peeling over time. Vinegar solutions are also acidic and risky. Instead, choose ammonia-free window cleaners specifically labeled as safe for tinted or privacy films, or make your own with distilled water and a drop of dish soap. Always test on a small, inconspicuous area first.
Cleaning your residential privacy film properly protects your investment and keeps your windows looking clear and professional. The right approach combines soft tools, ammonia-free cleaners, and gentle technique. When you maintain your film with care, it delivers years of privacy, comfort, and protection. Contact Coastal Glass Tinting for a free quote on professional film installation and maintenance guidance tailored to your home’s specific needs.