
Table of Contents
- Why Window Film Bubbling Happens and What It Signals
- How to Install Window Film Without Bubbles: A Step-by-Step Process
- Window Film Curing Time: What Is Normal and What Is a Defect
- Peeling at the Edges: Installation Practices That Cause It
- Window Film and Window Warranty: What Homeowners Need to Know
- Fixing Bubbles and Peeling After They Appear
- Conclusion
- Frequently Asked Questions
Last Updated: October 17, 2026
Why Window Film Bubbling Happens and What It Signals
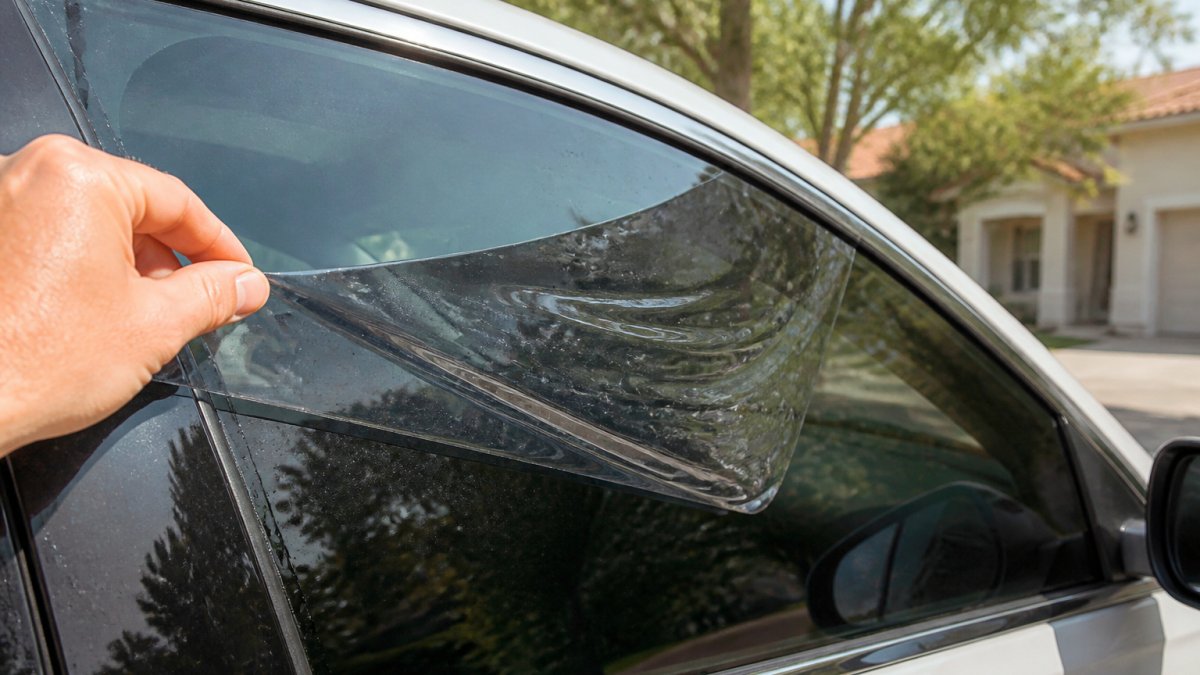
Window film bubbling is almost never random. It usually points to one of three things: trapped moisture, contaminated glass, or film never rated for that window.
At Coastal Glass Tinting, we have installed film since 1980, and the pattern holds. Bubbles within days are an installation problem; bubbles months later are usually a glass or adhesion problem.
Window film bubbling is trapped air or liquid under the film, or adhesive that has released from the glass. Small water pockets right after install are normal and dry out during curing.
The Most Common Window Film Bubbling Causes
Most bubbling traces back to a short list of preventable mistakes:
- Dirty glass. Dust, lint, or old adhesive left on the pane traps debris under the film.
- Too little slip solution. Installers need a wet surface so the film can be positioned and squeegeed flat.
- Over-squeegeeing. Pressing too hard pushes the film past its adhesive and leaves dry pockets.
The most expensive mistake is buying film before checking the glass. Dark or reflective film on some dual-pane and low-E windows can raise glass temperature enough to crack the pane or damage the seal. That is a glass replacement bill, not a film problem.
How to Install Window Film Without Bubbles: A Step-by-Step Process
Learning how to install window film without bubbles comes down to prep and patience. Application takes minutes; cleaning takes longer, and that is the point.
Here is the process we follow on every job:
- Check the glass first. Confirm the window type and whether the film is approved for it.
- Clean the pane twice. Scrape with a razor blade, then wash with a film-safe solution and a lint-free cloth.
- Wet the glass fully. Spray the entire pane so the film can slide into place.
- Cut the film with a small margin. Trim after it is on the glass, not before.
- Peel and spray the adhesive side. Wet both surfaces so nothing sticks early.
- Squeegee from the center out. Work in one direction, pushing trapped water to the edges.
- Trim the edges clean. Leave a thin, even gap so the film can expand.
- Check for lift. Run a finger along each edge and re-press anything loose.
Tools and Prep Work That Decide the Outcome
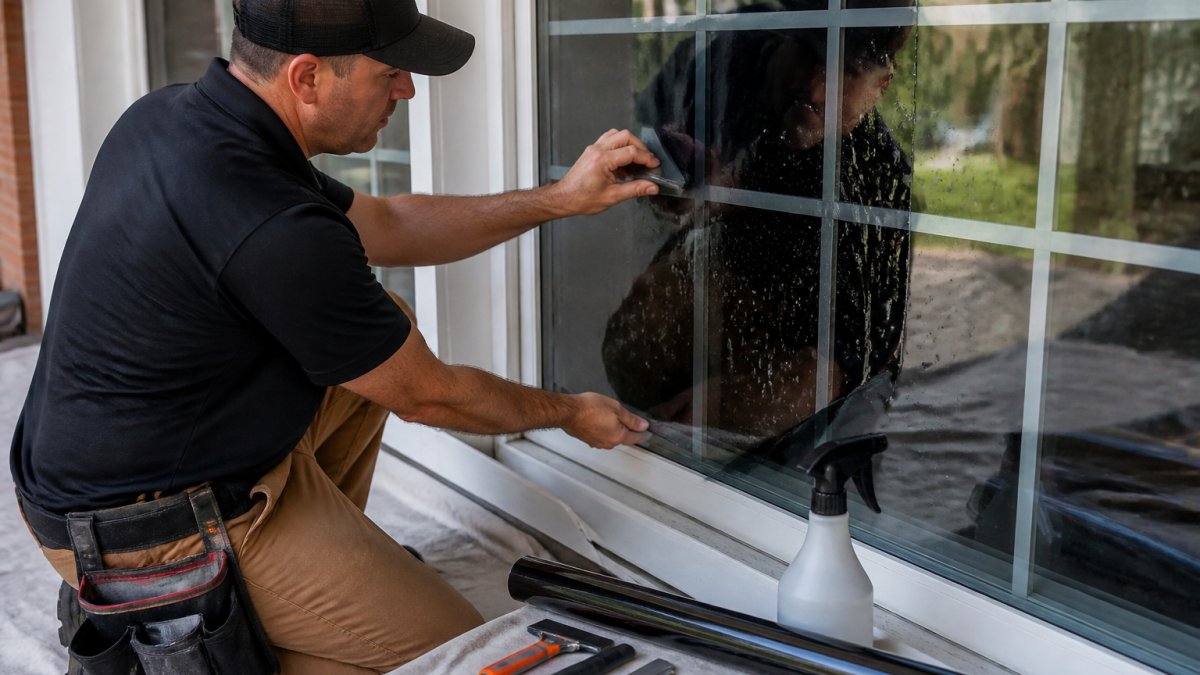
You need four things: a razor scraper, a spray bottle with slip solution, a quality squeegee, and lint-free cloths. Skip the dish soap shortcut.
Prep decides the result. Film needs a bare, residue-free surface, so scrape the whole pane and wipe the edges and frame corners where grit hides.
Wet the glass, then run your bare hand across it. If you feel any grit, keep scraping. Installers call this the hand test, and it catches what a cloth leaves behind.
Window Film Curing Time: What Is Normal and What Is a Defect
Window film curing time is the period after installation when residual moisture evaporates through the film. It typically takes a few days to a few weeks, depending on film thickness, weather, and sun exposure.
During curing, small water pockets and a slight haze are normal. They fade as the moisture leaves.
What is not normal:
- Bubbles that grow larger instead of shrinking
- Bubbles with a hard, dry center
- Edges that lift and curl
If you see any of these, photograph it and call your installer. Early documentation matters if a warranty claim follows.
Peeling at the Edges: Installation Practices That Cause It
Edge peeling is the most common film failure we see, and it is nearly always an installation issue: film cut too tight, pressed too hard at the edge, or trimmed before the glass was fully dry.
Three practices prevent it:
- Leave a small, even gap at the frame so the film has room to move with temperature changes.
- Do not over-squeegee the edges. Excess pressure pushes out the adhesive that holds the edge down.
- Seal the edge properly. A clean, dry edge bond is what keeps air and moisture out.
Poor trimming is the other culprit: a jagged cut creates thin spots that lift first. Professionals trim on the glass with a guided blade, not on a table.
Window Film and Window Warranty: What Homeowners Need to Know
Does window film void a window warranty? Sometimes, and the answer depends entirely on the manufacturer’s written terms, not on the film itself.
A window warranty covers the glass, seals, and frame. An aftermarket product like film is not part of that original build, so manufacturers can set conditions on what they allow.
Most window warranties include a warranty exclusion for damage caused by aftermarket products. Some manufacturers allow film if it meets certain film specifications.
Never assume film is safe for a window because the film itself is high quality. The window’s warranty terms decide that, and they are specific to the glass type and construction.
How to Read Warranty Language: Full Void vs. Limited Exclusion
The phrase “voids the warranty” gets used loosely. Most window warranties do not cancel all coverage the moment film touches the glass; they exclude coverage for damage the film causes.
Look for these clause patterns in the warranty document:
- Conditional language: “Coverage is void if aftermarket film is applied”, this is a full void. Any film installation ends coverage for that unit.
- Causation language: “Damage caused by aftermarket products is excluded”, this is a limited exclusion. The window stays covered for unrelated failures like a manufacturing defect in the frame.
- Approval language: “Film must be approved in writing by the manufacturer”, coverage survives only if you get that approval before installation.
A claim denial under a causation clause is not the same as a full void. Ask the claims adjuster to cite the exact clause and explain whether the denial covers the whole unit or only the film-related damage.
Glass Compatibility by Window Construction
Glass type drives both bubbling risk and warranty risk. Assess each window before film goes on:
| Window construction | Bubbling/peeling risk | Warranty sensitivity | What to check |
|---|---|---|---|
| Single-pane | Low to moderate | Low, fewer seal components to damage | Film thickness and adhesive grade |
| Dual-pane / insulated glass unit (IGU) | Moderate to high | High, edge seal and gas fill are covered components | Manufacturer’s film policy and solar heat gain limits |
| Low-E coated glass | Moderate | High, coating can be damaged by film removal | Whether film is rated for low-E surfaces |
| Tempered glass | Low | Moderate, thermal stress tolerance is higher | Film’s solar absorption rating |
| Laminated glass | Moderate | Moderate, interlayer can be affected by heat | Film’s heat absorption versus interlayer rating |
| Gas-filled IGU | High | High, gas retention depends on the seal | Whether film raises glass temperature beyond the seal’s rating |
On an insulated glass unit, film that absorbs solar heat raises glass temperature, which can stress the edge seal and cause seal failure. A failed seal shows up as fogging between the panes, one of the most common reasons a window claim gets denied after film installation.
A Warranty-Checking Workflow Before Installation
Run this checklist before any film goes on the glass:
- Find the window manufacturer’s warranty document, check the frame, the homeowner packet, or the manufacturer’s website by model number
- Search it for the words “film,” “aftermarket,” “modification,” and “approved”
- Note whether the clause is a full void, a causation exclusion, or an approval requirement
Two warranties are in play. The window warranty covers the glass; the film warranty covers the film and installation. A claim denial from one does not automatically void the other.
Under the Magnuson-Moss Warranty Act, a manufacturer generally cannot void a whole warranty just because you used an aftermarket product, unless the manufacturer shows the product caused the damage. For the exact text, see the Federal Trade Commission guidance on warranty law.
A seal lift or a lifted edge that lets moisture into the glass unit is one of the few things that can turn a covered window into an out-of-warranty one. Fix edge lift fast, and document it with dated photos before and after any repair.
Fixing Bubbles and Peeling After They Appear
Small, fresh bubbles often resolve during curing. Leave them alone and let the moisture escape.
For anything else, the fix depends on the cause:
- Edge lift: clean the edge, dry it fully, and re-press. If it lifts again, the film needs replacing.
- Trapped debris: the film must come off and the glass must be re-cleaned.
- Large or growing bubbles: remove and reinstall the film.
What to Document Before You Call Anyone
The evidence you collect in the first 48 hours often decides how a warranty question resolves months later. Before you touch the film, capture:
- Dated photos of each bubble or lifted edge, shot straight-on and at an angle, with a coin or ruler in frame for scale
- A short video of the edge lift flexing when you press near it, this shows whether the adhesive has released or the film is merely curing
- The installation receipt with the date, film product name, and installer’s business name
Keep these in one folder, physical or digital. A claim denial is often reversed on appeal when the homeowner produces a complete record the adjuster’s first review lacked.
If a Warranty Claim Is Denied
A denial is not always the end. Work through these steps in order:
- Request the denial in writing and ask the claims representative to cite the specific clause relied on. A verbal denial is hard to appeal.
- Compare the cited clause to the warranty language you saved before installation. If the clause is a causation exclusion, confirm whether the denial covers the whole unit or only the film-related damage.
- Check the film’s own warranty. Film manufacturers typically warrant the film against bubbling, peeling, and adhesive failure for a stated period. A window warranty denial does not cancel the film warranty.
- Escalate within the window manufacturer, ask for the warranty department supervisor, not the first-line claims representative, and submit your documentation package with the appeal.
- Contact the installer in writing and ask for their installation records, including the film batch number and the date of application.
- Review your state’s consumer-protection options. Warranty rights and their enforcement vary by state, and some state attorneys general publish complaint processes for home-improvement products. This is general information, not legal advice, consult a qualified professional for your situation.
Before any film installation, ask the installer which films are approved for your exact window construction. A good installer asks you for the window brand and model first, and puts the approval in writing.
Do not remove film yourself to “inspect” a bubble before documenting it. Removal can destroy the evidence an adjuster needs and may void the film warranty’s coverage for the failure.
Conclusion
Bubbles and peeling are preventable, but only when the glass, the film, and the warranty terms line up before installation starts, the part most people skip.
At Coastal Glass Tinting, we check glass type and warranty terms before we touch a window, and every installation is backed by a lifetime warranty on materials and workmanship.
Get a free quote from Coastal Glass Tinting and start with a film that is actually approved for your windows.
Frequently Asked Questions
What causes window film to bubble or peel?
Most window film bubbling causes come down to four things: trapped moisture or air during installation, contaminated glass, cheap adhesive that breaks down under heat, and glass that was not cleaned or primed properly. Peeling usually starts at an edge where the film was trimmed short or lifted during fitting. On dual-pane glass, a failed seal can also push moisture behind the film and look like bubbling. If bubbles appear months after a clean install, suspect adhesive failure or a window seal issue rather than trapped air.
How long should you wait before cleaning newly installed window film?
Wait at least 30 days before cleaning new film, and longer in cool or humid weather. Window film curing time varies with glass temperature, sun exposure, and film thickness; most installations fully cure in two to four weeks. During that window, small water pockets and a slight haze are normal and will dry out. Clean only with a soft cloth and a mild soap solution, never ammonia-based glass cleaners, and avoid aggressive scrubbing near the film edge.
Can you fix window film that is bubbling or peeling?
Small edge lifts caught early can sometimes be pressed back with a squeegee, but most bubbling and peeling requires removal and replacement. Once adhesive has failed or contamination is trapped under the film, no amount of smoothing will restore a clean bond. If the film is still under its film warranty, document the defect with photos and contact the installer before touching it, since DIY repairs can void coverage. For out-of-warranty windows, a professional removal and reinstall is the reliable fix.
Does window film affect a window warranty?
It can. Most manufacturer warranties on residential windows exclude damage caused by aftermarket products, and some require written confirmation before film is applied. The risk is highest on dual-pane and low-E glass, where heat absorption from film can raise glass temperature and stress the edge seal. Before installing, read the warranty terms, check film specifications for glass compatibility, and get manufacturer approval in writing. A separate film warranty from your installer covers the film itself, not the window.